
Plans allow for actionable workflows as a response to any incident (action steps). Action steps are the key component of a plan and determine the workflow and responses for your incident. Each action step can be independent or dependent of other action steps. For example, in the Visual Modeler, the broadcast message is dependent on the completion of the task to Notify Authorities.
- To create an action step, click the Plans icon in the navigation bar and open the plan record.
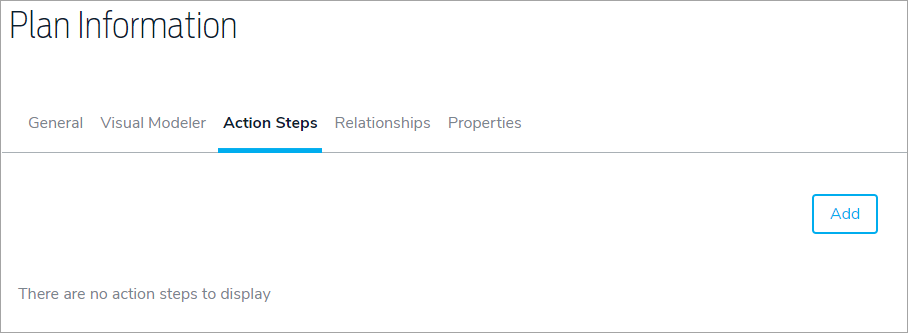
- Click Action Steps tab, then click Add.
- Select the type of action step you want to create. Options include:
- Assigned Task - A task is an individual action item assigned to an individual or role. With a task, you may define the due date/time, as well as load in information that is needed to complete the task.
- Status Change - A status change is a scheduled request for a status update. Status changes may be automatic or custom. With an automatic status change, you can pre-configure the exact status change and the system will automatically update the status when that particularly action step fires. With a custom status update, you are able to assign a status change to a specific individual or role. When the action step is activated, the individual will receive an alert notification (via SMS, email, or phone), request a status update from them. The individual may respond directly to the message with a custom status update. The system will automatically update the incident management area with the status from the field.
- Broadcast - This allows you to create a pre-defined emergency notification within your plan. You may define the message, the recipients, response options and the delivery methods during the planning phase. Messages may be scheduled or dependent upon other action steps within the plan.
- Decision Point - A decision point is assigned to an individual or a role and requests they make a decision. When the action step is activated, an alert notification (via SMS, email or phone) will be sent to the individual requesting that a decision be made. The system will provide all details associated with the decision. The individual may respond directly to the alert with the decision. Based on a decision, various paths within the plan may be followed. In the example included, at the beginning of the event, a decision is required from someone to determine if the plan should be launched. If they respond yes, we move to the next step which is Broadcast to Response Team. If they respond no, we move to the next step which is Complete False Report Form. The individual does not need to be at their computer to make decisions. By responding to the alert notifications on their phone or PDA, the system will automatically follow the correct path.
- Mini Plan - A mini plan is another plan within the enterprise or within a partner organization that is also running Global AlertLink. This allows portions of the overall plan to be broken down into individual areas and responsibility for the maintenance of the plans is directed to the group responsible for those specific efforts, while linking all areas together for a holistic response plan. Some examples of the uses for mini plans include:
- Compliance - Certain events require certain compliancy procedures for reporting and follow-up. These steps may be contained within a plan of themselves, yet linked to the master plan for easy update. The compliance department may be responsible for the management of this plan. If there is a change, there is no need to search for all areas where it is being used. The system will automatically update all linked plans.
- Corporate plans - Often, corporate headquarters is the last to know when an event occurs. With Global AlertLink, corporate may create a plan that is included at the beginning of all plans throughout the enterprise.
- Involve other groups - For example, linking to IT plans for a telecommunication outage when there is a fire or linking to public relations plans for events that involve the outside stakeholders.

- Enter the details of the action step, including title, description, assigned user or role, and due date.

- Click Add & Continue to display additional options. To view the new action step and any additional steps in a workflow, open the plan record, then click the Visual Modeler tab.


