
Custom fields are accessed in the administrative settings. From here, you can search by field name or narrow down which fields are displayed by clicking the magnifying glass icon in the Used On or Type column headers.


Note: Custom fields can contain any type of data format, alpha, numeric, alphanumeric. However, if you use these characters <> in a field, you may encounter problems loading the form or dashboard. By default, these are blocked during page redirects and other actions to prevent any kind of scripting attacks. It’s a very common attack to inject html, JavaScript or similar scripting languages, and even SQL code into text boxes to try and force a bad response from a website to potentially gain access to data or even corrupt entire systems.
- To create a custom field, hover your cursor over Admin, then click Custom Fields.

- Click Add New.
- Select Label, TextBox, DropDown List, Checkbox, or Lookup Field from the dropdown menu.
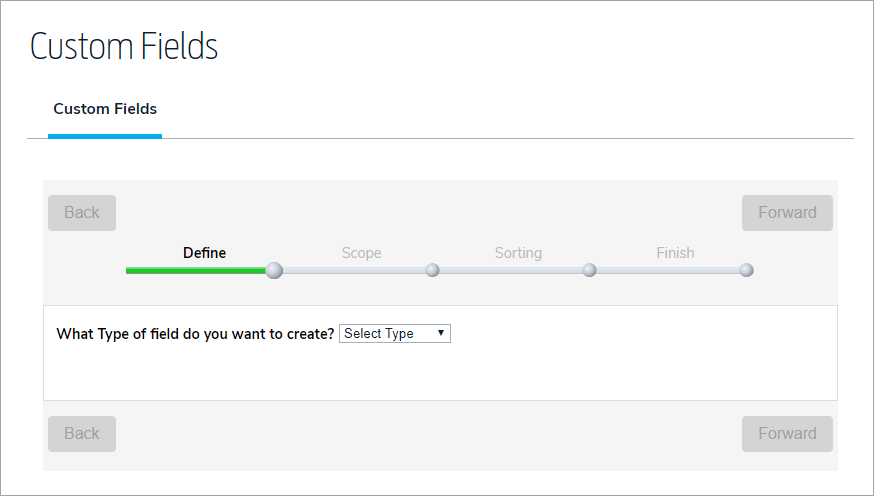
- If you selected Label, enter a text value for the field.
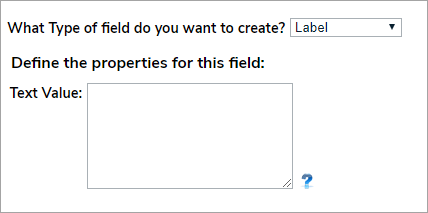
- If you selected TextBox, specify the size of the box in pixels and a tooltip to the user that describes how the field is used.
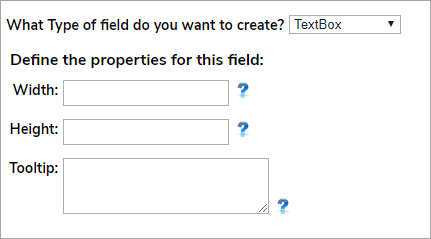
- If you selected DropDown List, enter the width and height of the list in pixels, a tooltip that describes to the user how the field is used, and the referential data or custom key associated with the field.
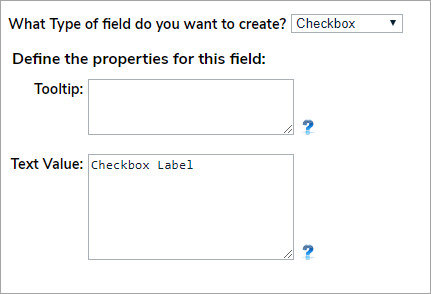
- If you selected Checkbox, enter a tooltip that describes to the user how the field is used, then enter a text value.
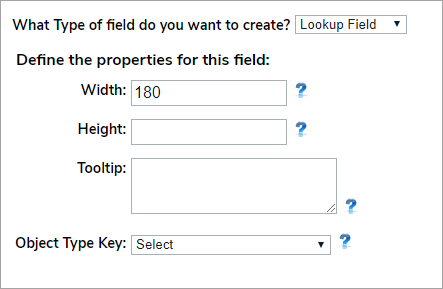
- If you selected Lookup Field, enter the width and height of the field in pixels, a tooltip that describes to the user how the field is used, and an object type key.
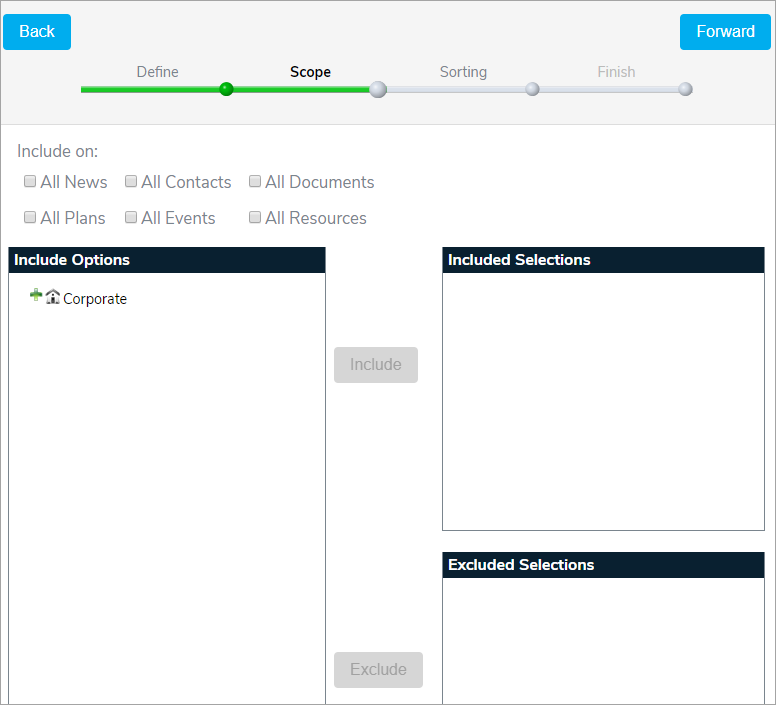
- Click Forward to choose the scope of the field. The custom field can be associated with all GAL objects or specific objects within your organizational structure.
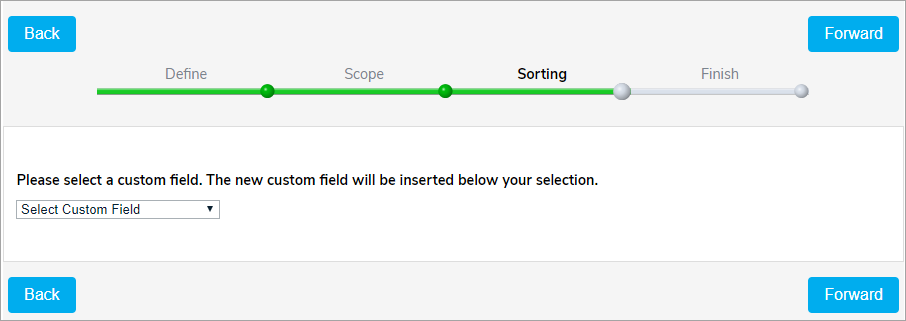
- Click Forward, then select where the custom field will be inserted in your organization's list of custom fields.
- Click Forward, then enter the name of the custom field.

- Click Add & Exit. The custom field will appear in the Additional Information section for the Global AlertLink objects you selected in the Scope.


