- To select recipients for your broadcast message, locate the Contacts or Roles folders from the Select Contacts pane on the left. You may locate individual contacts or groups by browsing the organization and contact groups. Click
 to expand the tree view.
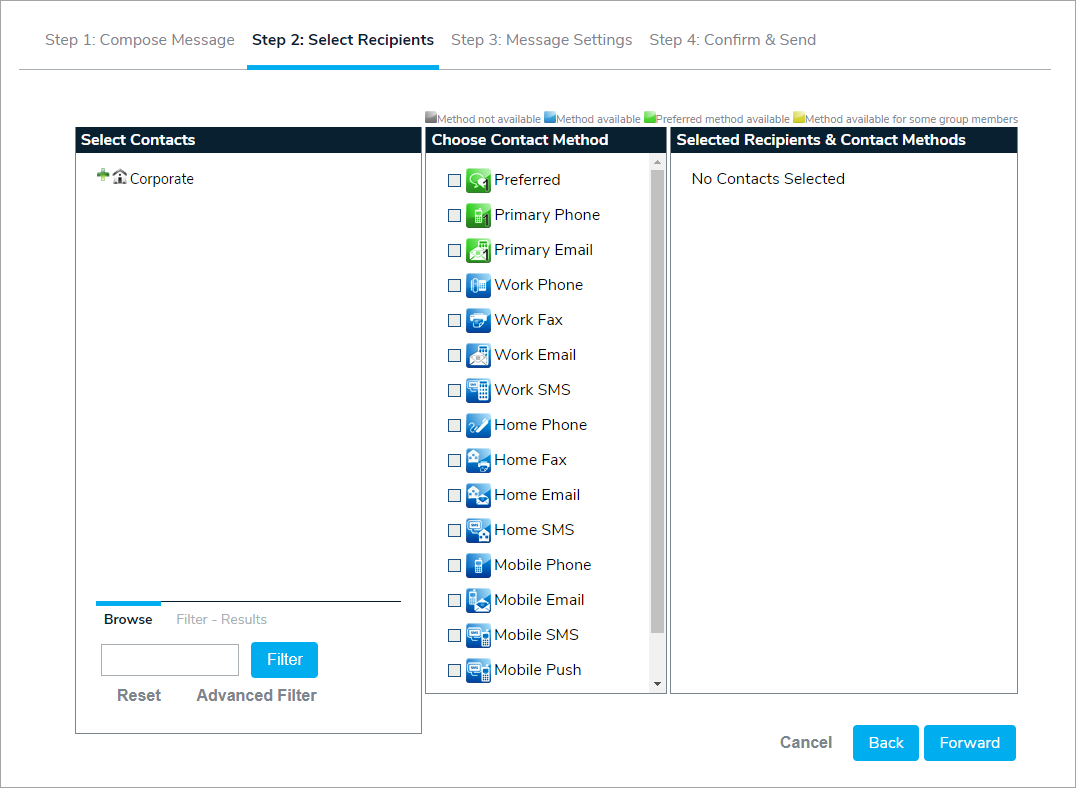
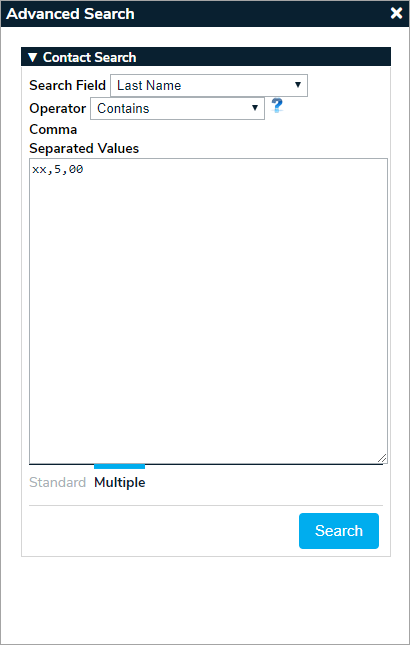
- Enter keywords in the Filter field or click Advanced Filter to search for specific individual contacts or groups. Advanced Search allows you to search on specific fields and custom fields for contacts or groups.

- To search for multiple contacts using a specific field, operator, and value, click the Multiple tab to display the Contact Search section. For example, you would use this search if you wanted to search the contacts where the Last Name contains xx, 5, or 00. You can also user the Equals To operator (e.g. Last Name Equals To Smith to find all the contacts with Smith for the last name).
- Once the filtered results are displayed in the Select Contacts panel, click the name of an individual contact to add them to the Selected Recipients & Contact Methods panel. To add all the contacts in the search results, click the
 icon in the bottom-right corner of the panel.
Note: If you wish to add all the results in the Search Contacts panel as recipients, it's recommended you select the contact methods before clicking the
icon in the bottom-right corner of the panel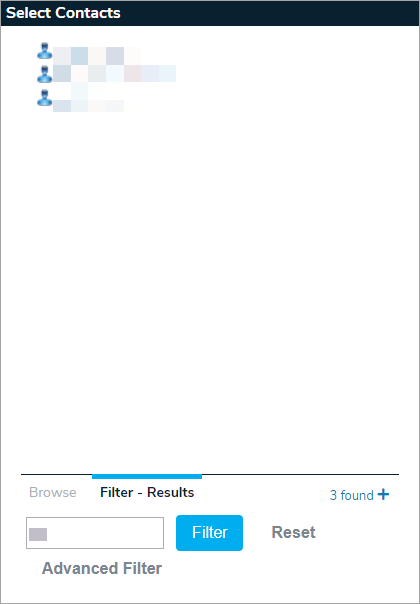
- To add a contact or subset of contacts click the contact name(s). To add a group of contacts, click the group name. All selected recipients will appear in the Selected Recipients & Contact Methods panel to the right.
- To select a contact method for all the recipients, click the appropriate contact method from the Choose Contact Method center pane. Note that the contact methods available to you may differ from the list within this document.
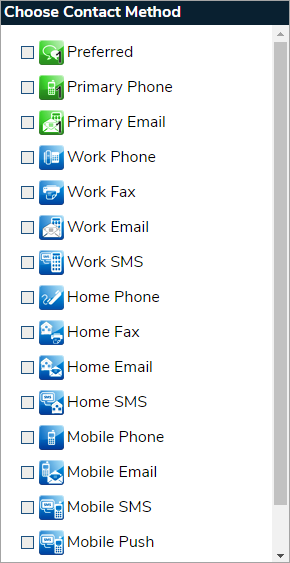
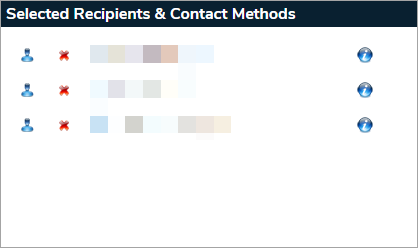
As contact methods are selected, icons will appear in the Selected Recipients & Contact Methods panel. The icons represent the contact method selected from the center pane. If the icon is blue, the contact method is available for the selected recipient. If the icon is grayed, the contact method is not available for the selected recipient.
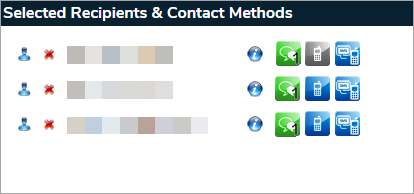
- To view additional details of the contact in the Selected Recipients & Contact Methods panel, hover your cursor over the
 icon beside the contact. To remove the contact, click the
  icon.
icon. - To add specific contact methods for a recipient, click the
 icon for a list of contact methods available for the individual. Simply click the contact method name in window to add it as a contact method for the individual. To remove a specific contact method for an individual, click the icon to remove it.
 - Once you have selected your recipients and contact methods, click Forward to move to Step 3: Message Settings.

 to expand the tree view.


 icon in the bottom-right corner of the panel.


 icon beside the contact. To remove the contact, click the
  icon.
icon. icon for a list of contact methods available for the individual. Simply click the contact method name in window to add it as a contact method for the individual. To remove a specific contact method for an individual, click the icon to remove it.
