- To send a message, click the Messages icon, then click Send Message.
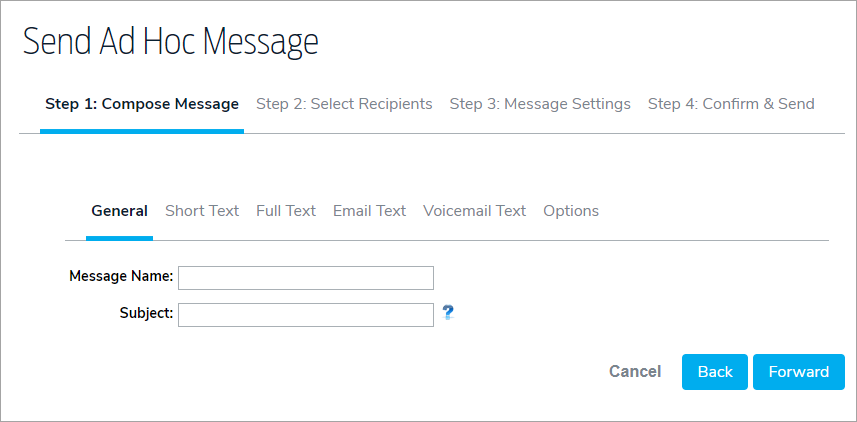
- In the General, enter a title for the message and subject in the Message Name and Subject fields. Note that only the first 50 characters of a subject line will be used in push notifications.
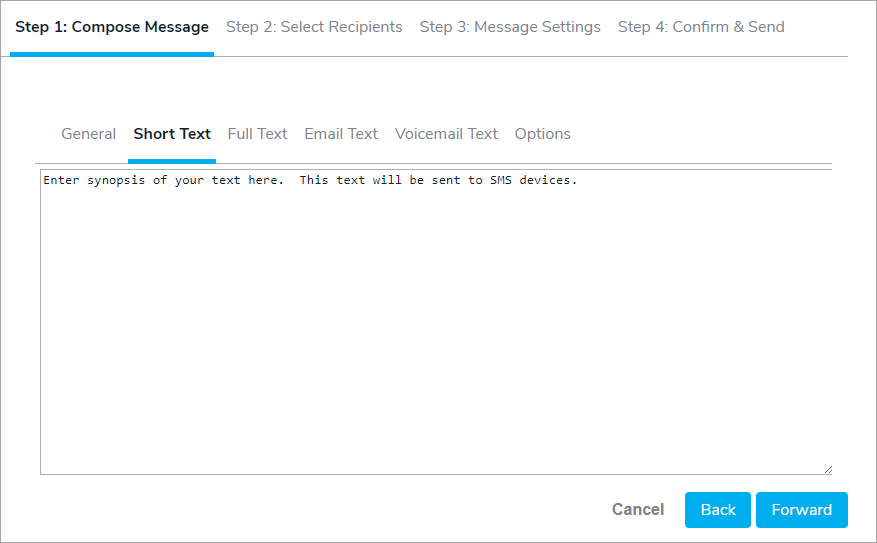
- Click the Short Text tab to enter the brief text for the message. The short text is limited to 160 characters and will be used when the message is delivered to SMS or similar devices. Message substitutions can also be added in place of short text.
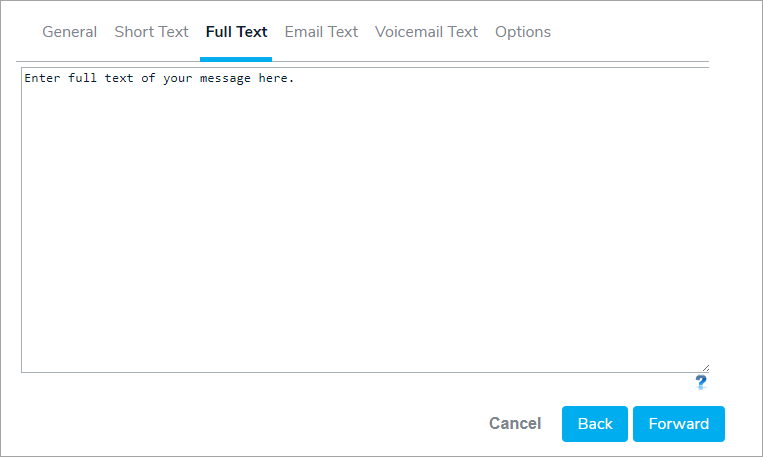
- Click the Full Text tab to enter the full text message. This version of the message will be sent to telephony, email, instant message, fax, and other mediums that allow long text. Message substitutions can also be added in place of full text.
With the introduction of AlertLink Connect, the size of the push message is calculated differently. Push messages are limited by total size of the message and not necessarily character count. In addition, a push message size includes the numbers of the characters in the response options. (This is not the case with SMS, Email and Voice).
We have also limited the number of characters that will be delivered in the Subject line for a push message to 50. These 50 characters will be displayed in the Inbox. The message subject line will be counted in the overall size of the message.
Keep this in mind when composing new push messages, adding push devices to existing messages, and when using Message Substitution. The total size of the message being generated could be much larger than the count of the number of characters in the Full Text box in Step 1 of Message Setup.
We recommend that push message size (subject, message text, and response options) not exceed 1450 characters (this is the current limit for iOS. Android devices will accept a larger message size).
If a push message exceeds the message size for the device, it will be truncated.
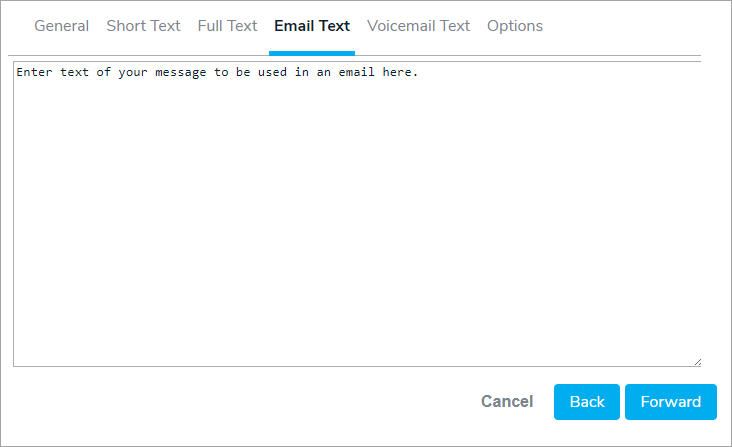
- Click the Email Text tab to enter the message to be sent to email accounts. This is strictly email.
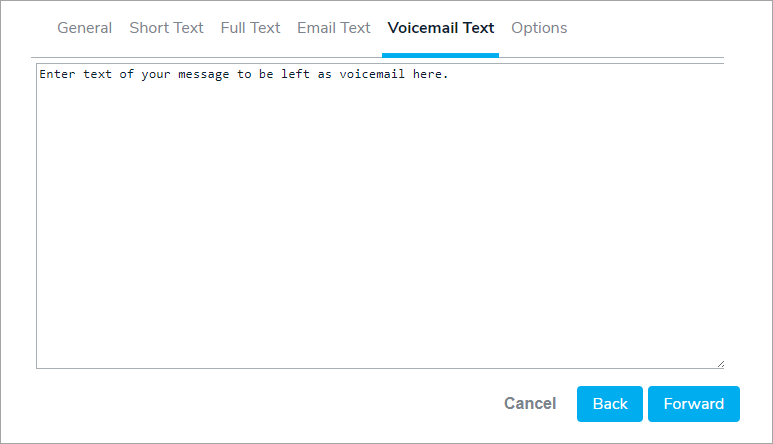
- Click the Voicemail Text tab to enter the text to be left as a voice mail.
- Click Options, then enter any custom response options for the message. You may click Add to add up to 8 custom response options.
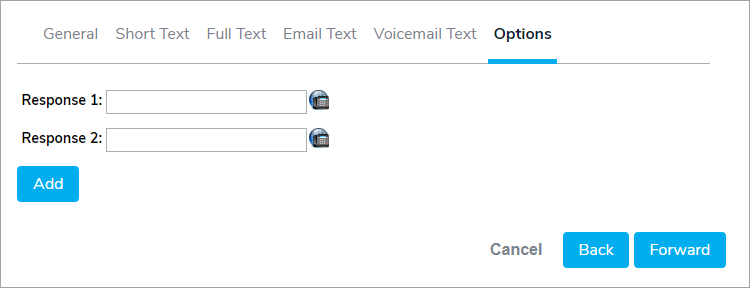
Please Note: The response options continue the phrase "Press X....". For example, if you wish the message to say, "Press 1 if you can be on-site within fifteen minutes”, you should enter "If you can be on-site within fifteen minutes" in the options box.
Click the Call Bridging icon to the right of each of the responses will display new options where you can add the call bridge # and access code to create a call bridge. By entering a comma in the Post Dial field, the system will pause for a second to allow time for the conference call to accept the conference PIN. You may need to test and evaluate the length of pause necessary depending upon your particular conference call service provider.
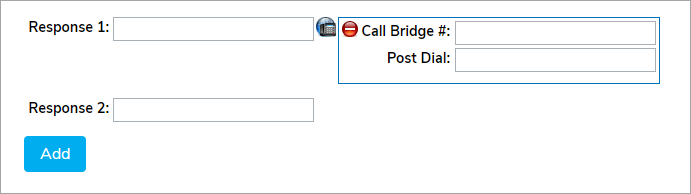
- Once you have completed composing your message, click Forward to move to Step 2: Select Recipients.


 to the right of each of the responses will display new options where you can add the call bridge # and access code to create a call bridge. By entering a comma in the Post Dial field, the system will pause for a second to allow time for the conference call to accept the conference PIN. You may need to test and evaluate the length of pause necessary depending upon your particular conference call service provider.

