
- To create a subscription, hover your cursor over Admin, then click System Management.
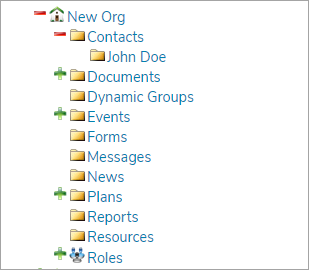
- In the structure pane, create a new folder in the Contacts folder of the appropriate org.
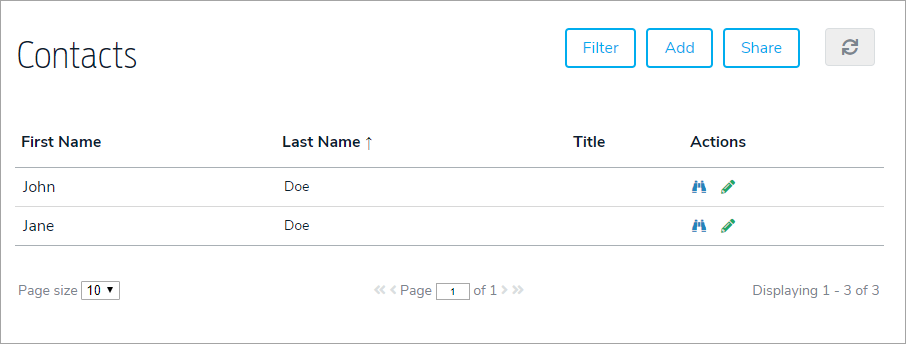
- Navigate to the org, click Contacts in the navigation bar, then click Share.
- Share the contact record with the folder created in step 2 above.
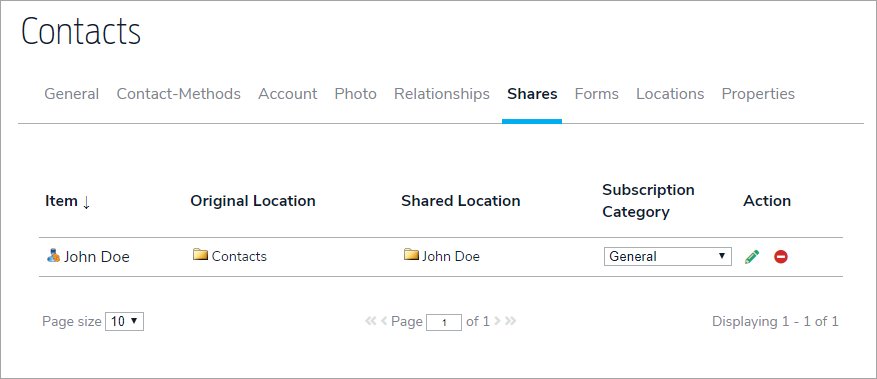
- Open the contact record, then click the Shares tab.
- Click the pencil icon beside the share made in step 4.
- Select a category from the Subscription Category dropdown menu.
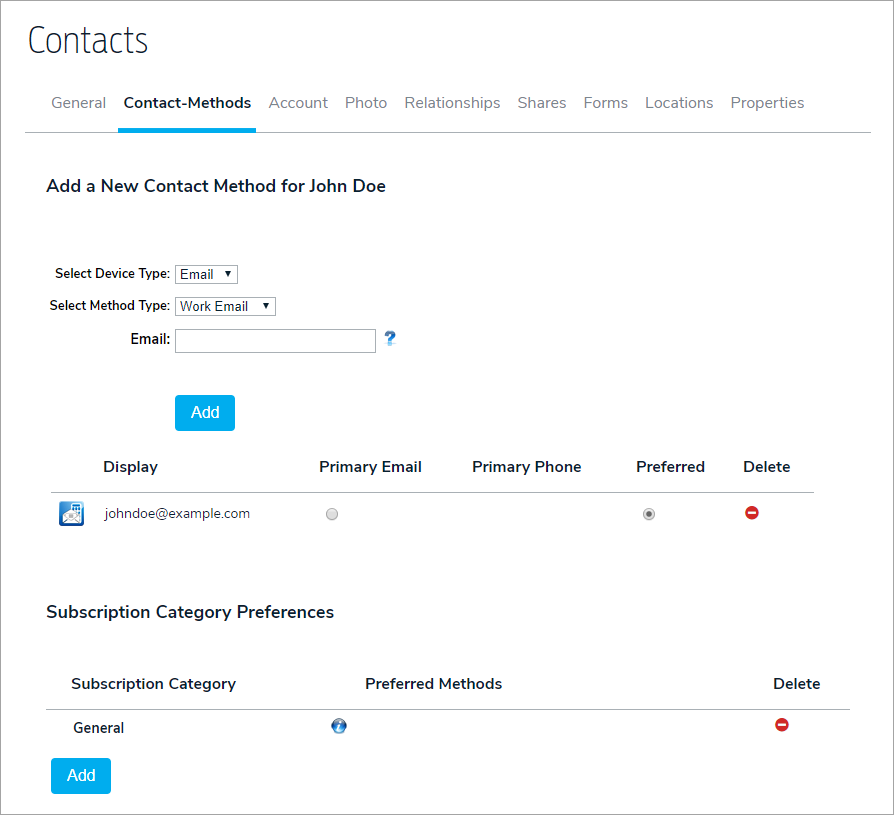
- Click the Contact-Methods tab.
- Click Add in the Subscription Category Preferences section, then add the category configured in step 7 above.
- Click the
 icon, then select the method(s) that should receive messages from the selected subscription category.
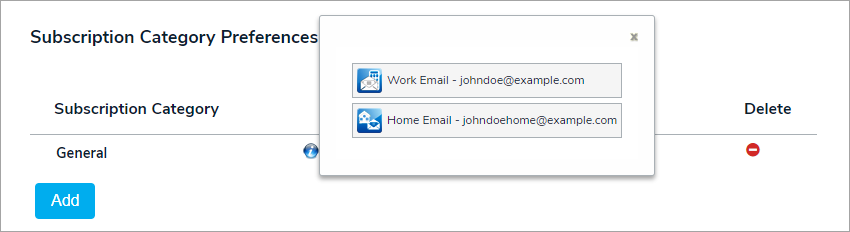
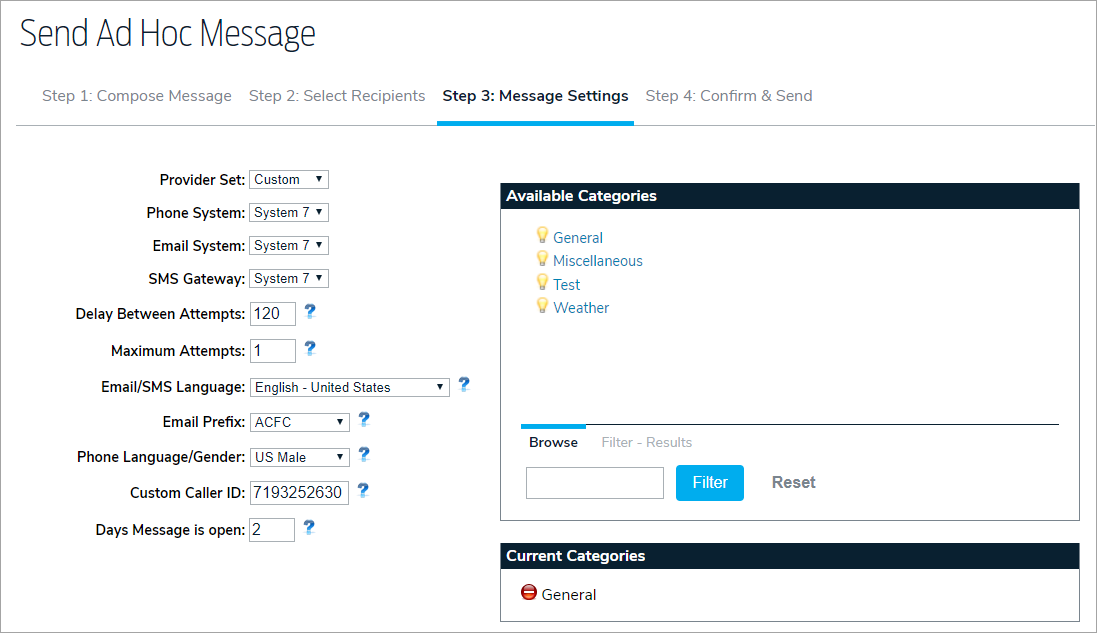
- Create a new message. In Step 3: Message Settings, add the category selected in step 7 above.


 icon, then select the method(s) that should receive messages from the selected subscription category.

Subscription categories require a system configuration setting which determines who will receive subscription messages.
Configuration Setting | Subscription Message Recipients |
Local | Only contacts subscribed to “General" in the Contacts folder. |
Ancestors | Contacts subscribed to “General” in the Contacts folder and any contacts that have that subscription category in any contact folder "above" the contacts folder in Chuck Test. |
Descendants (default setting) | Contacts subscribed to “General” in the Contacts folder and any contacts that have that subscription category in any contact folder below Chuck Test. |
Both | Contacts subscribed to “General” in the Contacts folder and any contacts that have that subscription category in any contact folder above or below Chuck Test. |

