
The new Form Designer allows the user to use Tables to help layout the form, create different sections, and present data in a tabular format. Please watch the new training video on the Resolver Support site to see how tables can be used.
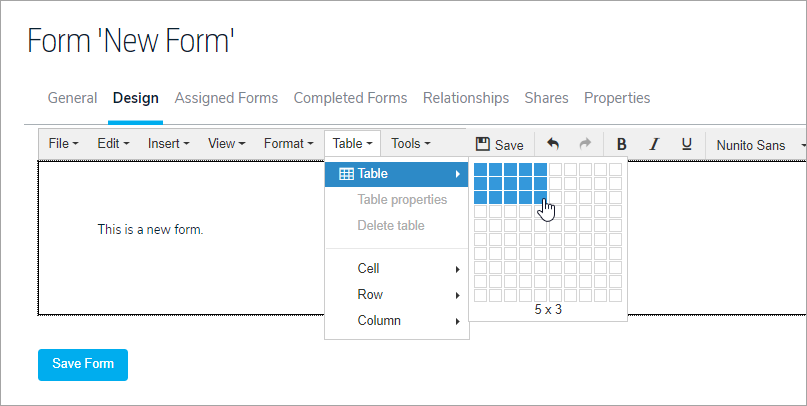
To add a new table to your form, click on "Table" and select the number of rows and columns you want.
The table grid will be inserted into your form in a collapsed format.
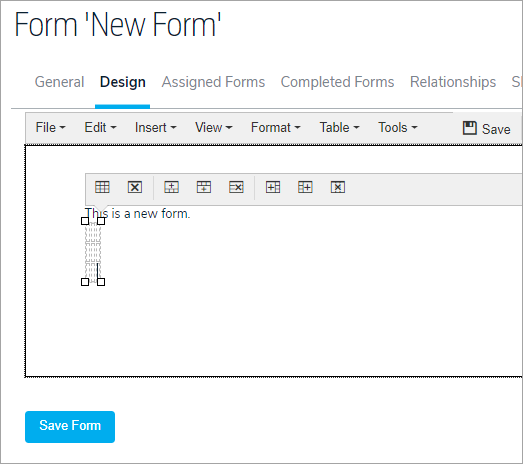
You can adjust the size of the columns in the table by dragging the grid and adjusting the column margins. By clicking on Visual aids, you can display the grid lines of the table while you design the form and then remove them to see what the form would look like without them.

When you create a table, you can also edit the properties of the table. By clicking when the cursor is in the table, the properties tabs are displayed which allow you to add/delete rows or columns. In addition, you can set up properties for the entire table by clicking on the icon circled in red.
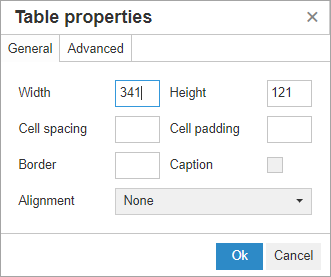
On this screen, you can adjust the height and width of the entire table (pixels), the spacing if any for the margins of the cells, whether you want a border for the table and a caption above it. You can also set cell alignment.
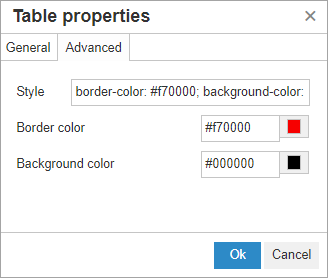
Clicking the Advanced tab on Table Properties allows the user to change the color of the border and add background colors as well.
Tables are key to using the new Form Designer as you design and as the finished product for the end user. By highlighting individual cells, entire rows or columns, the user is able to set the cell and row properties as well.
Like table properties, you can set the pixel size for the width and height of cells and rows, indicate the cell/row type (how the cell/row will be used in the table), cell/row alignment, and whether or not set scope the desired properties for the row, the column, or a group of rows or columns. Like tables, you can also specify the border and background color of cells and rows.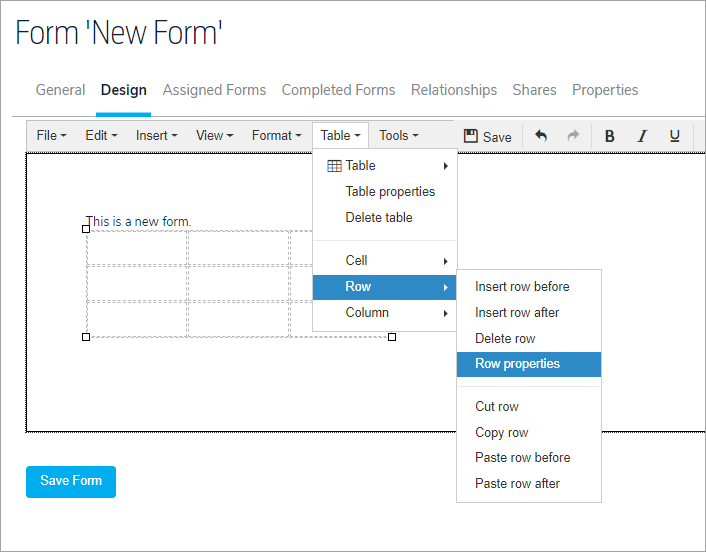
You can also merge and split cells in tables if necessary.


