- To design a form, click the Forms icon in the navigation bar, then open the previously created form's settings.
- Click the Design tab.
- Click the textbox to display the form's editor.
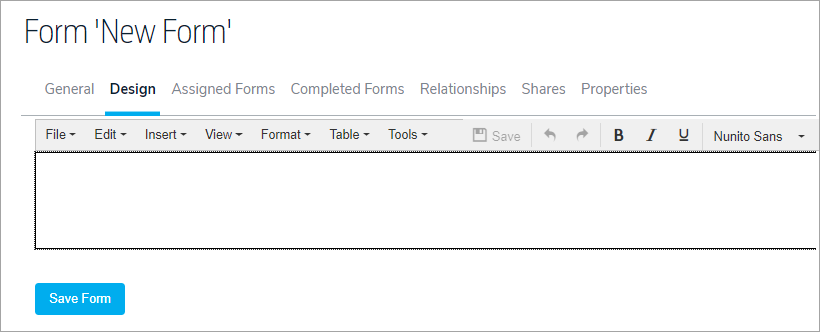 The Form editor.
- Enter text in the textbox, then use the options in the editor menu to format the form as needed.
- To insert a textbox, dropdown list, checkbox, lookup field, click Tools, and click an element to insert it or right-click the textbox, hover your cursor over Add Element, then click an element. See the Reports on Forms article for more information on adding reports.
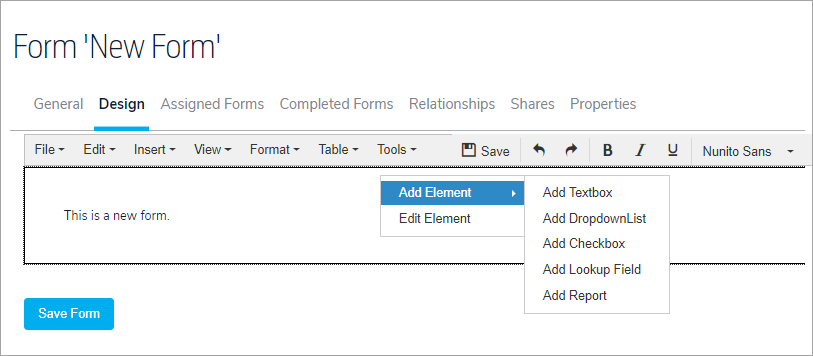 The Add Element list.
- To add the relationship builder to the an Organization Form or Plan-Event (dashboard) form type:
- Click the form canvas > Tools > Add Relationship Builder.
- Select the object you want to create the object for from the dropdown menu.
- Select Yes from the Run Relative? dropdown menu to allow users to only select objects from the current organization or select No if you want to allow users to select objects outside of the current organization. For example, if you want users to create a relationship for a document object in the organization where the form is being accessed, you'd select Yes, but if the user should be able to select a document from another org, you would select No.
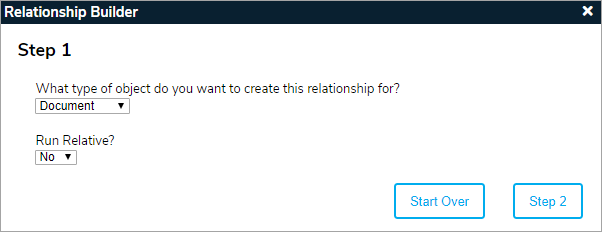 Step 1 of the Relationship Builder wizard.
- Click Step 2.
- Select the relationship type(s) you want to create. Relationship types are configured in the Referential Data Manager.
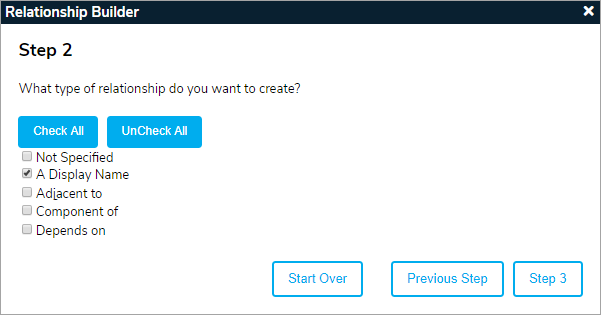 Step 2 of the Relationship Builder wizard.
- Click Step 3.
- Select the type of object you want to create the relationship to from the dropdown menu.
- Select Yes from the Run Relative? dropdown menu to allow users to only select objects from the current organization or select No if you want to allow users to select objects outside of the current organization. For example, if you want users to create a relationship to an event object within the current organization, you'd select Yes, but if the user should be able to select an event from another org, you would select No.
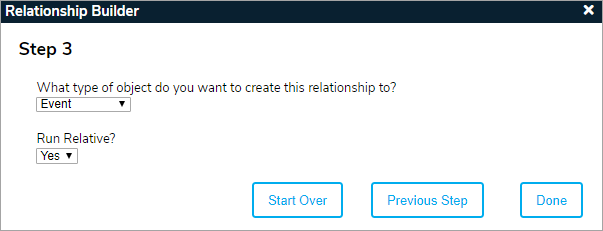 Step 3 of the Relationship Builder wizard.
 - Click Done.
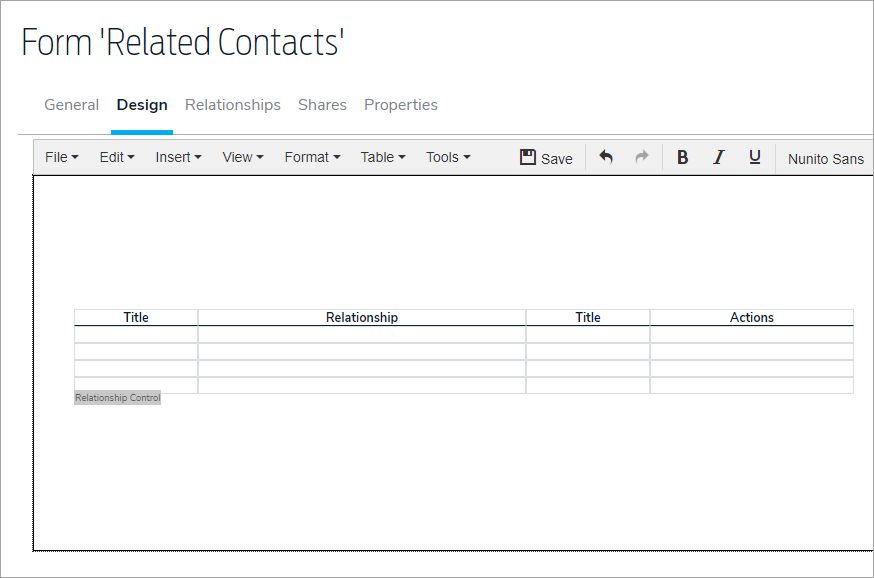 A completed relationship builder on a form.
- Repeat steps a. to i. above to continue adding more relationship builder forms.
- To edit an element added to the form, right-click it, then click Edit Element to view and configure its properties. The following is a list of available properties (depending on the element):
Title
Allows the user to input the Title of an object. Note: The title will not appear in the Form. Titles are important for naming and identifying objects, especially when you want to use the field in a report.
For example, if you are using Text Fields, Drop Down Fields, Lookup Fields and Checkboxes you will want to assign them a Title (field name) so that the data can be used in reports.
Width
Allows the user to input the Width of an Object. (Textbox, Dropdown, and Lookup Field only. Includes Edit Variables.)
Height
Allows the user to input the Height of an Object. (Textbox, Dropdown, and Lookup Field only. Includes Edit Variables.)
Tool tip
Allows the user to specify what the tool tip will say. Tool tips are help text.
Text Value
Allows the user to specify what text to use (if any) for the label. (Checkbox Only)
Referential Key
Allows the user to specify what options are listed in a Dropdown list by selecting a set of referential data. (Dropdown only)
Custom Key
Allows the user to specify what options are listed in a Dropdown list by selecting a set of custom referential data. (Dropdown only)
Action Enabled
Allows the user to specify whether the Add/Edit/Quick view buttons are visible. (Report only)
Add Enabled
Allows the user to specify whether or not the option to add items is enabled. (Report only)
Share Enabled
Allows the user to specify whether or not the option to share records items is enabled. (Report only)
Export Enabled
Allows the user to specify whether or not the option to export the report table is enabled. (Report only)
Folder Title
Allows the user to specify whether or not a specific folder title should be designated when adding a resource record. (Report only)
Run Report Relative to Editor
Specifies the Custom Form Query Report will be scoped to the Plan/Event/Organization where the Editor is used.
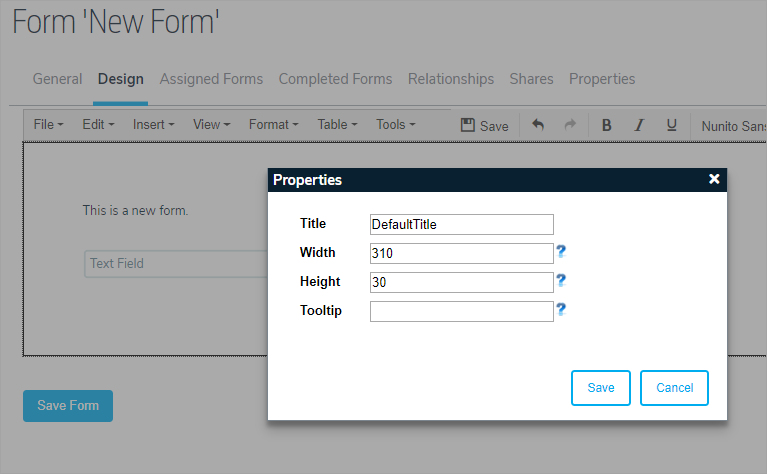 The chosen element's Properties window.
 - To clear the form of all text, formatting, and elements, click File > Clear Document. To undo or redo your changes, cut, copy, or paste text, or select all content in the form, click the Edit option.
- Click Save Form to save your changes.