
- To add an organization, hover your cursor over Administration, then select System Management.

- Select the parent organization from the Organizations box on the left portion of the screen. Right-click the parent organization's name and select Add Org. This will display the Organization Details to the right.
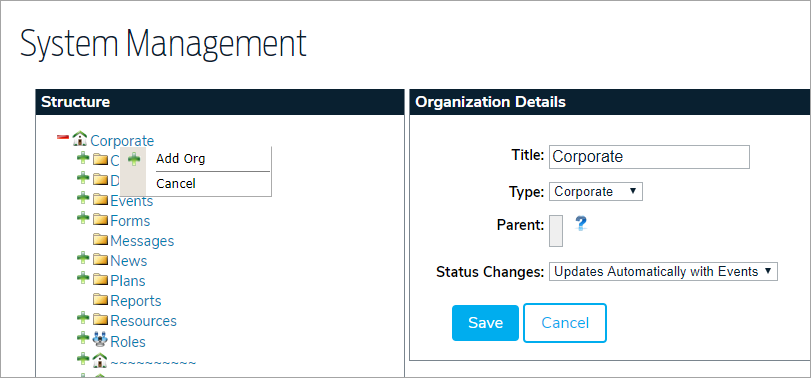
- Enter the org's title in the Title field.
- Select an organization type from the Type dropdown menu. These options are managed in the administrative settings.
- Optional: Select a new parent organization for the sub-org.
- Select an option from the Status Changes dropdown menu. Options include:
- Updates Automatically with Events: Automatically sets the status of the organization based on the live event instances within it. The interruption level is based upon the most severe of its live events.
- Manually Set: Interruption levels must be manually set.
- Click Save to create the new org and display additional options.
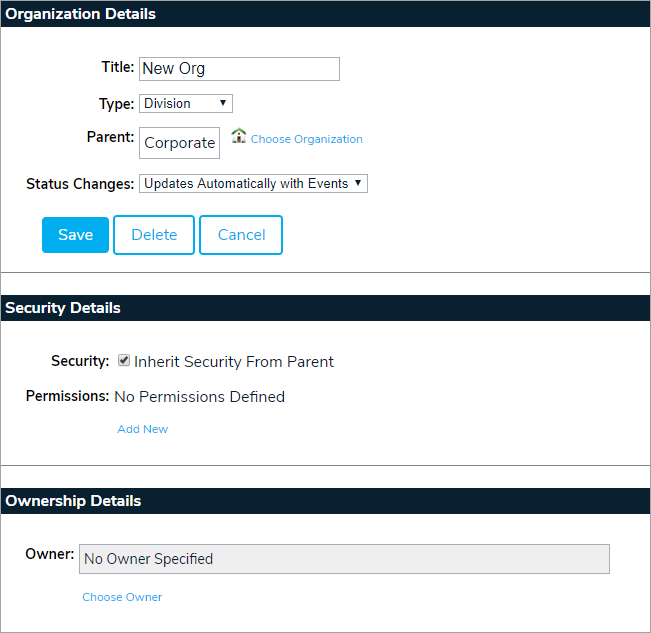
- Edit the org's Security Details as needed (see the Permissions article for more information).
- Add an owner to the org, if needed. Note that when a user or role is assigned as an owner to an org, folder, or object, they are granted Write permissions to that object.


Once created, the org will appear in the Structure panel. Each new org is created with the following folders:
- Contacts
- Documents
- Dynamic Groups
- Events
- Forms
- Messages
- News
- Plans
- Reports
- Resources

